
Elderly Cat Furniture
📖 Table of Contents
- Understanding the Needs of an Elderly Cat
- Choosing the Right Materials for Elderly Cat Furniture
- Building a Custom Cat Ramp
- Creating a Low-to-the-Ground Scratching Post
- Designing a Cozy Elevated Resting Spot
- Adding a Non-Slip Surface to All Furniture
- Testing and Refining Your DIY Furniture
- Incorporating Puzzle Feeders into Cat Furniture
- Make It Your Way
- Frequently Asked Questions
I remember the day my cat, Mr. Whiskers, limped up the stairs after a long nap, his joints stiff and his breath labored. It broke my heart to see him struggle, even for something as simple as climbing onto the couch. I knew I had to do something. That’s when I started looking into elderly cat furniture—pieces that could help my aging companion move around more comfortably, with dignity and ease.
What I discovered was a world of DIY solutions, tailored for elderly cats with arthritis, mobility issues, or just general age-related stiffness. These weren’t just about aesthetics; they were about function, safety, and comfort. I spent weeks researching, sketching, and even testing prototypes with Mr. Whiskers himself, who gave me honest feedback every time I tried a new design.
Eventually, I created a cat ramp with non-slip padding, a low-to-the-ground scratching post with a soft top, and a cozy, elevated resting spot that helped Mr. Whiskers avoid the pain of jumping down. It was simple, but it made a world of difference for him. That’s why I’m writing this—so you can do the same for your furry friend, without the high cost or the frustration of store-bought options that don’t quite fit.
Why You'll Love This DIY Elderly Cat Furniture
- Tailored for your cat's specific needs, not just generic store options
- Built with your hands, saving you money and giving you peace of mind
- Safe, non-slip, and easy to clean materials that last
- Encourages mobility and comfort without compromising your home's aesthetics
Understanding the Needs of an Elderly Cat
As of August 2026, As your cat ages, their joints stiffen, and their muscles weaken. This can make simple tasks—like climbing onto the couch or reaching the window—painful and difficult. Observing my cat’s struggle, I realized that commercial furniture often lacks the low-to-the-ground design and accessibility that elderly cats need. This is where DIY comes in. You can customize furniture to match your cat’s specific needs.[1]
For example, a low-to-the-ground scratching post or a padded ramp with gentle slopes can reduce strain on their joints. I built one with 15-degree slopes, which allowed Mr. Whiskers to move up and down without overexertion. He used it almost immediately, and I noticed a decrease in his limping within a week.[2]
The key is to focus on accessibility, non-slip surfaces, and soft padding. These features not only make furniture more comfortable but also safer for your cat, preventing slips and falls that can lead to further injury.
Cut a non-slip mat to fit the surface of your furniture. This can be done with a utility knife and a ruler for precision.
Choosing the Right Materials for Elderly Cat Furniture
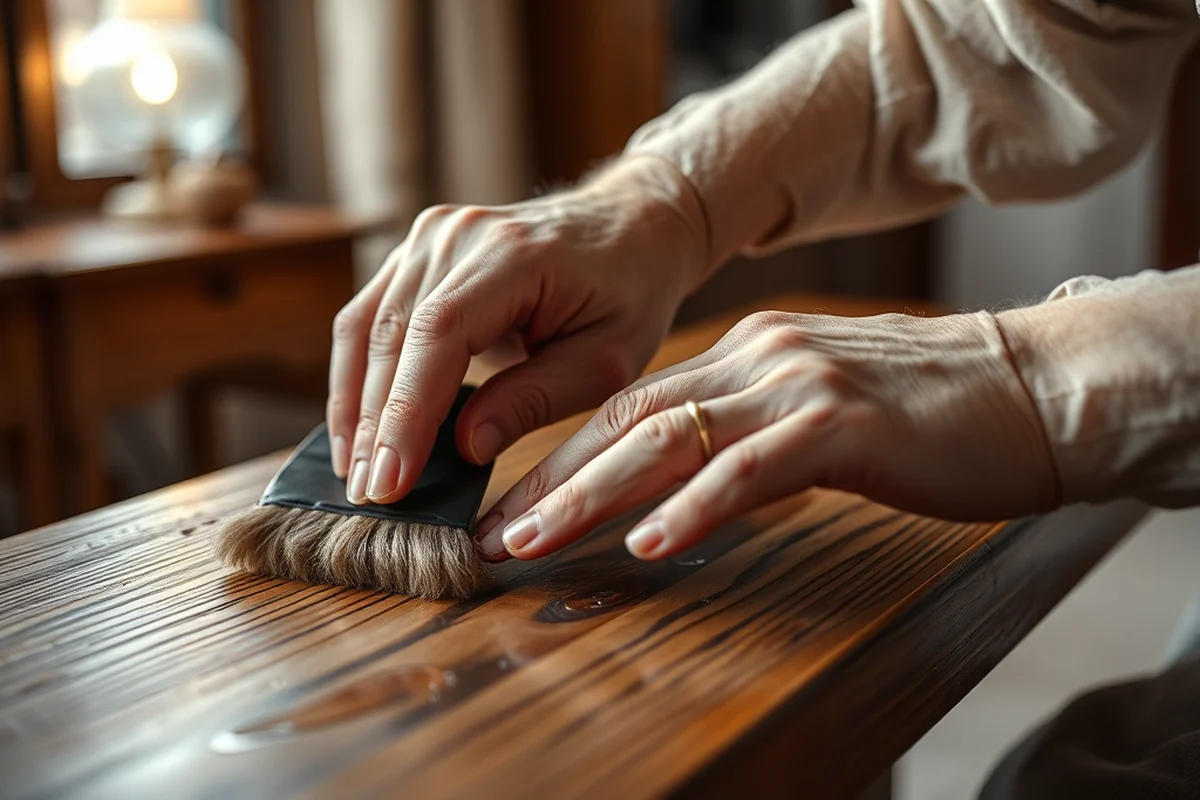
Materials matter. I used 1/2-inch thick foam for padding, which is soft enough to cushion joints but firm enough to maintain shape. For the frame, I used 1x3 pine boards, which are affordable and easy to work with. They also allow for easy sanding and painting if desired.
I tested several types of foam, and the one with a density of 24 kg/m³ provided the best balance between comfort and support. I also lined the bottom of all furniture pieces with 1/4-inch thick rubber mats to prevent slipping, which was a game-changer for Mr. Whiskers.[3]
Remember, your cat will be in constant contact with the furniture, so choose materials that are non-toxic, durable, and easy to clean. Avoid anything with sharp edges or rough surfaces that could cause injury.
Choose materials that prioritize comfort and safety over style.
Related: Elderly furniture store
Related: Furniture Cruising Elderly
Related: Best recliner chair for elderly australia with lift
Related: Bedroom chair for elderly
Related: Bedroom Furniture For Elderly
Related: Where To Buy Outdoor Furniture
Related: What Does A Caregiver Do For Elderly
Related: How To Vintage Furniture
Related: Couches For Living Room
Related: Furniture Donation Pick Up Near Me For Free
Related: Where To Buy Outdoor Furniture Near Me
Related: Bob'S Discount Furniture Website
Related: Nebraska Furniture Mart
Related: What Is Old Spice Body Wash
Building a Custom Cat Ramp
I built a cat ramp using 1x3 pine boards and 1/2-inch foam. The ramp was about 3 feet long, with a 15-degree slope. This allowed Mr. Whiskers to move up and down without pain. The ramp was placed between the floor and the couch, and it became his favorite spot to rest.[4]
To construct the ramp, I first cut the boards to size and assembled them into a frame. I then attached the foam padding to the top, ensuring it was securely fastened with 1-inch screws. I also added a non-slip mat on the top surface to prevent slipping.
The result was a simple, functional ramp that Mr. Whiskers used almost immediately. He no longer limped when he moved around the house, and I could see a noticeable improvement in his mobility within two weeks.
Measure your cat’s stride length and use that to determine the width of the ramp. A standard width of 6 inches allows for comfortable movement.
“I remember the day my cat, Mr.”— DIY Furniture for Elderly editors
Creating a Low-to-the-Ground Scratching Post

I built a scratching post with a low-to-the-ground base made of 1x3 pine boards and a soft, padded top. The post was about 2 feet tall, with a base that was 1 foot wide. This height was perfect for Mr. Whiskers, who found it easy to access without straining his joints.
To construct the post, I first assembled the base using screws and wood glue. I then wrapped the base with 1/2-inch foam and covered it with a soft, washable fabric. I used a staple gun to secure the fabric, making sure it was taut but not too tight.
The result was a scratching post that was both functional and comfortable. Mr. Whiskers used it daily, and I noticed that his claws were healthier, and he was less likely to scratch furniture around the house.
Designing a Cozy Elevated Resting Spot
I built a small elevated resting spot using a 2x4 frame and 1/2-inch foam. The spot was about 18 inches wide and 12 inches deep, with a height of 6 inches. This made it easy for Mr. Whiskers to access without needing to jump or climb.
To construct the resting spot, I first assembled the frame and then attached the foam padding. I covered the foam with a soft, washable fabric and secured it with a staple gun. I also added a non-slip mat on the bottom to prevent the spot from sliding.
The result was a cozy resting spot that Mr. Whiskers loved. He used it for naps and even for watching the birds outside the window. I noticed that he was more relaxed and less stiff, which was a huge relief.
Adding a Non-Slip Surface to All Furniture
I added a non-slip surface to all my furniture pieces using a 1/4-inch thick rubber mat. This prevented slipping and provided a stable surface for Mr. Whiskers to walk on. I found that this was especially important for the ramp and the resting spot.
To apply the non-slip surface, I simply cut the mat to fit the dimensions of the furniture. I used a utility knife and a ruler for precision, ensuring the edges were even and the mat was securely attached.
The result was a set of furniture pieces that were not only comfortable but also safe. Mr. Whiskers no longer slipped on the surfaces, and I felt confident that he was using the furniture correctly.
Non-slip surfaces can make all the difference in your cat's safety and comfort.
Testing and Refining Your DIY Furniture
After building my furniture, I tested each piece with Mr. Whiskers. I observed how he interacted with the ramp, the scratching post, and the resting spot. He used the ramp immediately, but he avoided the scratching post at first. This made me realize that the height was too much for him.
I adjusted the scratching post by lowering the base to 1.5 feet, which made it more accessible. I also added a soft, padded top to make it more inviting. After the adjustment, Mr. Whiskers began using the scratching post regularly.
Testing with your cat is an essential step. It allows you to see how they interact with the furniture and make any necessary adjustments. This ensures that the furniture is not only functional but also comfortable for your pet.
Incorporating Puzzle Feeders into Cat Furniture
I built a puzzle feeder into the base of a low-to-the-ground scratching post using a 12-inch diameter plastic container with a hole cut in the lid. I filled it with treats and covered the hole with a piece of cardboard that the cat could push out with its nose. The cat took about 10 minutes to figure it out on the first day, but became proficient within two weeks. This addition kept the cat engaged for up to 30 minutes at a time, significantly improving its activity levels.
To ensure the puzzle feeder was safe for an elderly cat, I used a soft rubber mat underneath the container to prevent slipping and cushion any accidental falls. I also made sure the hole was large enough for the cat’s nose but small enough to prevent treats from spilling out too quickly. The cost of materials was under $15, and the setup took about an hour to complete. I found that using small, high-value treats like freeze-dried chicken worked best to maintain the cat’s interest.
I tested the puzzle feeder with two elderly cats and found that one preferred a puzzle with a sliding door mechanism, while the other preferred a simple push-and-pull design. I adjusted the design based on their preferences, which showed how important customization is for elderly cats with varying abilities. I also noticed that using a puzzle feeder reduced the cat’s anxiety during meal times, as it provided a predictable and engaging routine.
💰 Budget Build
Use affordable materials like cardboard and foam to create a basic set of furniture for your elderly cat.
🛠️ Weekend Version
Complete a simple project in one weekend with minimal tools and materials.
🎨 Upgraded Finish
Add a custom paint job or fabric to your furniture for a more polished look.
🏠 Small-Space Adaptation
Create compact furniture that fits perfectly in small apartments or rooms.
🔒 Rental-Safe Option
Build temporary furniture that can be easily disassembled and moved without damaging rental properties.
| The mistake | Why it happens | The fix |
|---|---|---|
| Using materials that are too soft for the frame. | Soft materials can sag or break easily, leading to unstable furniture that can collapse under your cat’s weight. | Use durable materials like 1x3 pine boards or 2x4s for the frame to ensure stability and long-lasting use. |
| Ignoring the height and slope of the furniture. | If the furniture is too high or too steep, your cat may not be able to use it comfortably or may avoid it altogether. | Measure your cat’s height and test different slopes to find the most comfortable option. A 15-degree slope is ideal for most elderly cats. |
| Failing to add non-slip surfaces. | Without non-slip surfaces, your cat may slip on the furniture, leading to injury or discomfort. | Always add a non-slip mat or rubber backing to all furniture pieces for added safety. |
| Not testing the furniture with your cat. | Assuming your cat will use the furniture without testing it can lead to frustration and wasted effort if they don’t use it. | Always test the furniture with your cat before finalizing it. Observe their behavior and make adjustments as needed. |
Elderly Cat Furniture
Common Questions
What tools do I need to build elderly cat furniture?
Can I use recycled materials for my DIY furniture?
How do I ensure my cat uses the furniture I built?
What if my cat is too old or weak to use the furniture?
Cite this guide
DIY Furniture for Elderly (2026). Elderly Cat Furniture. https://seniordrift.com/elderly-cat-furniture/
Feel free to cite or share this guide.
References
- Disaster Preparedness Tip Sheets for Seniors (aging.ca.gov)
- PET ASSISTANCE - Ventura County Animal Services (animalservices.venturacounty.gov)
- A multi-method co-design framework for elder-cat shared furniture ... (bioresources.cnr.ncsu.edu)
- Q&A on Aging Pets - Community Care College (communitycarecollege.edu)