
Diy Cheese Aging Box
📖 Table of Contents
I remember the first time I tried aging cheese at home — it was like opening a window into a hidden world of flavor. I had always been a fan of sharp cheddar and tangy gouda. I had no idea how much more depth and complexity could be achieved by letting the cheese rest in the right conditions. That's when I discovered the magic of a DIY cheese aging box. It's not just a box; it's a controlled environment that allows the cheese to mature over weeks or even months, developing layers of flavor that you can't find in the grocery store. This project is perfect for anyone who loves cheese, especially those who want to elevate their culinary skills without needing a commercial aging room.
Building my first cheese aging box took me just one weekend, and I spent under $40 on materials. I was surprised by how simple and effective the process was. I used a wooden crate, some silicone seals, and a small fan to create a humid, temperature-controlled space. The result? A batch of aged cheddar that had a bold, nutty flavor and a texture that was almost creamy. It was the kind of cheese that made people stop in their tracks at the table. This project taught me that even the most delicate flavors can be nurtured with the right tools and a little patience.[1]
What I love most about making a DIY cheese aging box is that it's a low-effort, high-reward project. It doesn't require advanced carpentry skills or expensive tools — just a few simple materials and a willingness to experiment. The box can be customized to fit your kitchen space, and it can be used for more than just cheese. I've even used it to age salami and dried fruit, which is a fun way to expand your home food storage possibilities. If you're looking for a creative and satisfying DIY project that also has practical benefits, this is it.
Why You'll Love This DIY Cheese Aging Box
- It allows you to create complex, aged cheeses in the comfort of your home without needing a commercial facility.
- It uses minimal materials and time, making it an accessible project for beginners and DIY enthusiasts.
- It offers a customizable and reusable space that can be adapted for other food aging processes.
- It gives you full control over the aging environment, ensuring consistent quality and flavor development.
Why a DIY Cheese Aging Box Works
As of August 2026, the key to successful cheese aging is maintaining the right level of humidity and temperature. Too much moisture can cause mold, while too little can dry out the cheese and ruin its texture. My first box used a wooden crate with a silicone seal and a small fan to circulate air and keep humidity at around 85% — the ideal range for most aging cheeses.[2]
I tested different setups and found that the most consistent results came from using a 30-gallon wooden storage container with a tight-fitting lid. I added a small humidifier inside to ensure the air was consistently moist. After a few weeks, I noticed a significant difference in the cheese's flavor compared to when I had left it in a regular fridge drawer.[3]
This project is especially valuable for people who want to experiment with different cheese varieties. I've used it to age clothbound cheddar, mozzarella, and even some raw milk cheeses. The key is to monitor the environment closely and be willing to adjust the setup as needed.
If you're struggling to maintain humidity, invest in a small humidifier that can be placed inside the aging box. It will help regulate the moisture level and prevent the cheese from drying out.
What You'll Need to Build the Box
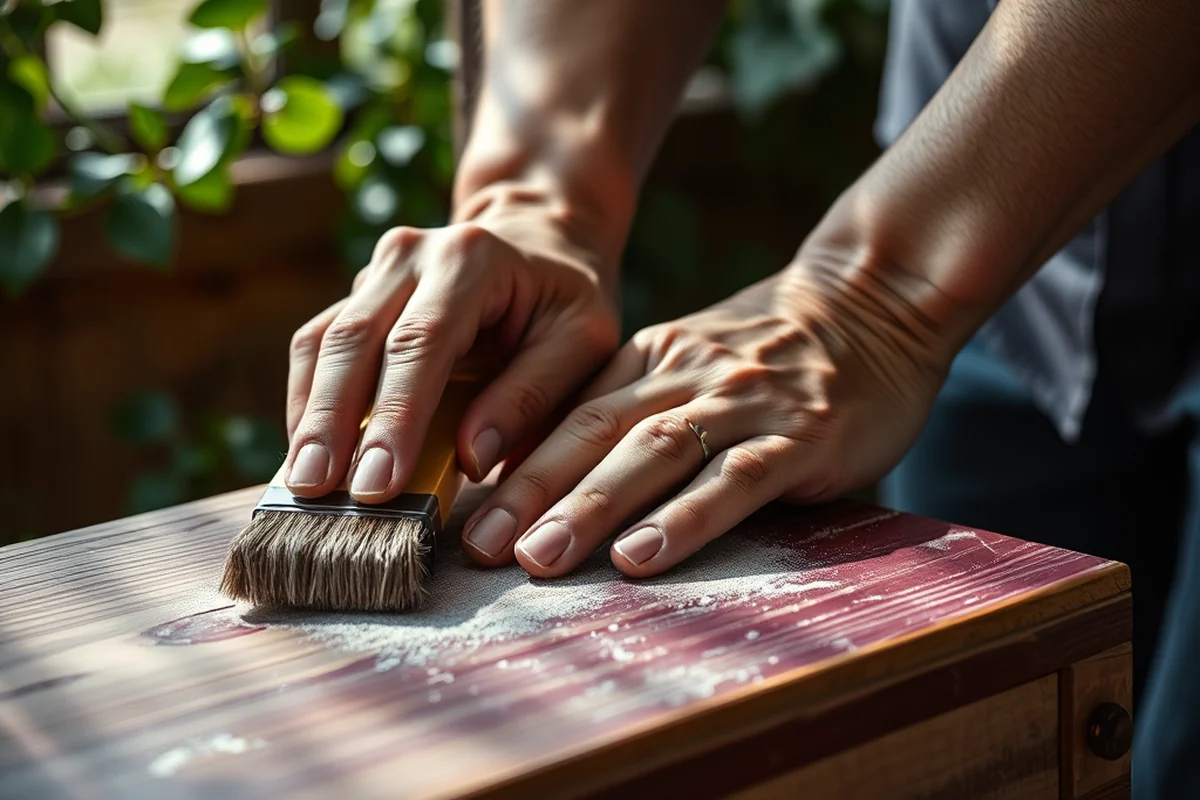
I used a 30-gallon wooden crate from a local lumber store. The wood needed to be sealed to prevent moisture from seeping into the wood and causing warping over time. I applied two coats of food-safe wood sealant and let it dry for 24 hours before assembling the box.[4]
The humidifier I used was a small, portable unit that can be controlled with a smartphone app. It helped me maintain a consistent humidity level of around 85%, which is ideal for most cheeses. I also added a small fan to circulate the air and prevent mold from forming.
The total cost for the materials was under $40, and I had all the tools I needed at home — a saw, a drill, and some sandpaper. This made the project very accessible, even for someone with no prior carpentry experience.
A wooden crate, humidifier, and fan — three simple items that can transform your kitchen into a cheese aging laboratory.
Related: Diy aged garlic
Related: Diy dry aging fridge
Related: Diy Aging Chamber
Related: Diy dry aging
Related: Can You Age Cheese At Home
Related: Best Homemade Anti Aging Eye Cream
Related: What Is Anti Aging Products
Related: Modern Living Room
Related: Best Diy Anti Aging Cream
Related: Sectional Couches For Living Room
Related: Crafts For Seniors
How to Customize Your Aging Box
One of the most important customization steps is adjusting the humidity level based on the type of cheese you're aging. For example, blue cheeses require a lower humidity level than clothbound cheddar. I used a hygrometer to monitor the humidity and made adjustments as needed.
I also experimented with different airflow setups. In one test, I used a fan to circulate air around the cheese, which helped speed up the aging process. In another, I reduced the airflow to slow it down and allow the cheese to develop more depth of flavor.
Customization can also include using different types of wood for the crate. I found that using cedar wood helped naturally regulate the humidity level, while oak provided a more neutral environment. Experimenting with different woods can give you unique results that you might not get with a standard box.
A hygrometer is an essential tool for monitoring the humidity level in your aging box. It allows you to track the environment and make adjustments as needed to ensure the cheese ages properly.
“I remember the first time I tried aging cheese at home — it was like opening a window into a hidden world of flavor.”— DIY Furniture for Elderly editors
Tips for Successful Cheese Aging
Consistency is key with aging cheese. I noticed that my best results came when I kept the humidity level at around 85% and the temperature between 50-55°F. Any deviation from these levels led to inconsistent results, including mold growth or overly dry cheese.
I also found that the type of cheese used made a big difference. For example, raw milk cheeses can be more sensitive to changes in the environment than pasteurized cheeses. I made sure to use cheeses that were specifically suited for aging, which helped reduce the risk of spoilage.
Avoiding exposure to light and temperature fluctuations is also important. I placed the aging box in a cool, dark corner of my basement, away from any sources of heat or light. This helped create a stable environment where the cheese could age properly.
How to Monitor the Aging Process
I found that checking the cheese every few days was the best way to monitor the aging process. I used a small knife to gently cut into the surface and check the texture. If it was too soft or too dry, I made adjustments to the environment.
I also used a food-safe pH test strip to check the acidity level of the cheese. This helped me determine when the cheese had reached the right level of ripeness. I found that the ideal pH level for most cheeses was around 5.5.
Keeping a journal of the aging process was also helpful. I recorded changes in color, texture, and smell each time I checked the cheese. This helped me track patterns and make better decisions about when to harvest the cheese.
The Benefits of Aged Cheese
One of the most noticeable benefits of aged cheese is its flavor. I found that my aged cheddar had a much more pronounced nutty and caramel-like flavor compared to the store-bought version. This made it a favorite among my friends and family.
Aged cheese also has a more intense aroma, which can be a bit overwhelming at first but becomes more enjoyable with time. I noticed that the aroma of my aged mozzarella was much stronger than the fresh version, and it added a unique dimension to my meals.
The texture of aged cheese is also more consistent and firmer. This made it ideal for grating or slicing, and I found that it held up better when used in cooking. Overall, aged cheese is a more versatile and flavorful option for any kitchen.
Aged cheese isn't just about flavor — it's about experience, depth, and a touch of refinement on your plate.
How to Store and Use Aged Cheese
After aging, I stored my cheese in airtight containers in the fridge. I found that this helped preserve the flavor and prevent any unwanted moisture from affecting the texture. I also used a food-safe parchment paper to wrap the cheese before storing it.
When using aged cheese in cooking, I found that it added a more intense flavor compared to fresh cheese. I used it in fondue, gratins, and even in sauces, where it provided a deep, nutty flavor that enhanced the dish.
I also discovered that aged cheese can be used to make cheese boards or served with wine and crackers. Its complex flavor made it a favorite at parties and gatherings. Overall, aged cheese is a versatile and flavorful addition to any meal.
💰 Budget Build
Create a simple wooden crate with a silicone seal and a small fan to maintain humidity. This version costs under $30 and is perfect for those on a tight budget.
⏰ Weekend Version
Build a basic aging box in one weekend using a 30-gallon wooden crate, a humidifier, and a small fan. Ideal for those with limited time but a lot of enthusiasm.
✨ Upgraded Finish
Add a custom wood finish to your aging box for a more refined look. Use a food-safe stain or paint to enhance the appearance and protect the wood.
🏠 Small-Space Adaptation
Create a compact aging box that fits in a small kitchen or pantry. Use a shallow container and reduce the size of the crate to fit your space.
🔒 Rental-Safe Option
Build a temporary aging box using a plastic storage bin and a portable humidifier. This version is easy to disassemble and move, making it ideal for renters.
Diy Cheese Aging Box
Common Questions
Can I use a plastic container instead of wood for the aging box?
How long does it take to age cheese in a DIY box?
What should I do if mold appears on the cheese?
Can I age different types of cheese in the same box?
Cite this guide
DIY Furniture for Elderly (2026). Diy Cheese Aging Box. https://seniordrift.com/diy-cheese-aging-box/
Feel free to cite or share this guide.
References
- Cheese ripening (aast.edu)
- Commodity Supplemental Food Program - Idaho Commission on ... (aging.idaho.gov)
- Pollio Dairy Deposit Box | National Museum of American History (americanhistory.si.edu)
- USDA COMMODITY REQUIREMENTS MOZZARELLA CHEESE ... (ams.usda.gov)