
How To Restore Old Furniture
📖 Table of Contents
The day I found my grandmother’s antique chair in the garage, buried under a tangle of old newspapers and dust, I knew I had to bring it back to life. It wasn’t just about saving a piece of furniture — it was about preserving a memory. That chair had seen decades of family dinners, laughter, and quiet conversations, and I wanted to restore it to its former glory. Restoring old furniture is more than a DIY project; it’s a way to connect with the past and give new life to something that might otherwise be discarded.
Over the years, I've restored everything from a cracked oak table to a flaking vanity, each with its own set of challenges. Sometimes, the process was straightforward; other times, it took hours of research, trial and error, and a few trips to the hardware store. But the satisfaction of seeing a once-forgotten piece of furniture gleam again under the light is worth every drop of sweat and every moment spent.
If you're thinking about how to restore old furniture, know this: it doesn’t have to be complicated or expensive. With the right tools, a little patience, and a clear plan, you can breathe new life into an old piece. In this article, I’ll walk you through the steps, share my hard-earned lessons. Give you the confidence to restore furniture the way I did — one nail, one brushstroke, and one memory at a time.
Why You'll Love This Process
- Preserve family heirlooms and reduce waste by giving them a second life.
- Transform outdated furniture into pieces that match your current decor.
- Save money by avoiding the cost of buying new furniture.
- Gain a sense of accomplishment through hands-on craftsmanship.
Assess the Furniture’s Condition
As of September 2026, I always start by taking the furniture apart — if it’s a table or chair — to get a full view of what’s underneath. This helps me spot hidden damage, like rotting wood or broken joints. It’s also a good idea to test the stability of the piece. If it wobbles or feels loose, you’ll need to reinforce the structure before proceeding.
I use a flashlight and magnifying glass to check for small cracks or splinters that might not be obvious at first glance. Pay close attention to the legs, drawer slides, and any joints that connect different parts of the piece. These are the most common spots where wear and tear occur.
I also look for signs of previous repairs, like old screws or glue. Sometimes, the original repair job was done poorly, and you’ll need to remove and replace it. Taking your time here ensures that you don’t skip a step and end up with a weak, unstable piece later on.
Use a flashlight and magnifying glass to spot hidden damage. Don’t rush — take your time to assess each part of the furniture.
Part of our Sofa sale guide.
Clean and Prepare the Surface
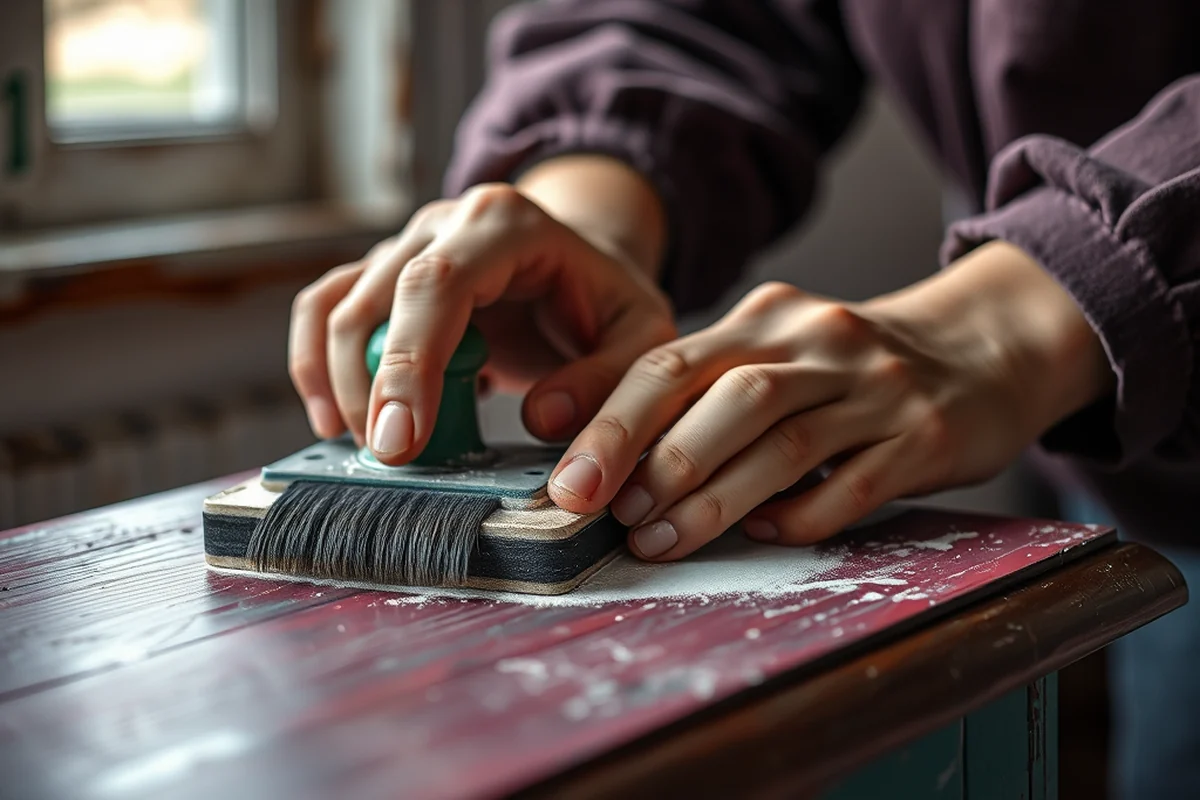
I start by vacuuming the furniture to remove any loose dust, dirt, or debris. This is especially important for pieces with intricate carvings or upholstery. If the wood is coated in grime, I use a mild soap and water solution, applying it with a soft cloth and wiping in the direction of the grain.
For tough stains, I’ve found that a mixture of baking soda and water works wonders. I apply it to the stain, let it sit for a few minutes, and then gently scrub with a soft brush. I always test the solution on a small, inconspicuous area first to make sure it doesn’t damage the finish.
Once the surface is clean, I sand it down with fine-grit sandpaper to create a smooth base for the new finish. This step ensures that the paint or stain will adhere properly and last longer.
A clean surface is the foundation of a great restoration.
Related: Where to buy outdoor furniture
Related: Where to buy outdoor furniture in person
Related: Nebraska furniture mart
Related: Furniture old for sale
Repair Structural Damage
If the furniture has loose joints, I use wood glue and clamps to secure them. I apply a generous amount of glue to the joint, press the pieces together, and hold them in place with clamps until the glue dries. This method is simple but highly effective for reinforcing weak spots.
For larger gaps or missing pieces, I use wood filler. I apply it to the damaged area, let it dry, and then sand it down until it’s smooth and even with the surrounding wood. This step is especially important for furniture that will be used regularly, like tables or chairs.
After repairing the structure, I reinforce any weak joints by adding additional screws or dowels. This helps ensure the piece is sturdy and stable for years to come.
Use wood glue and clamps for joints, and add screws or dowels for extra strength. This makes the piece more durable and prevents future damage.
“The day I found my grandmother’s antique chair in the garage, buried under a tangle of old newspapers and dust, I knew I had to…”— DIY Furniture for Elderly editors
Related: Old sofa set for sale
Apply a New Finish
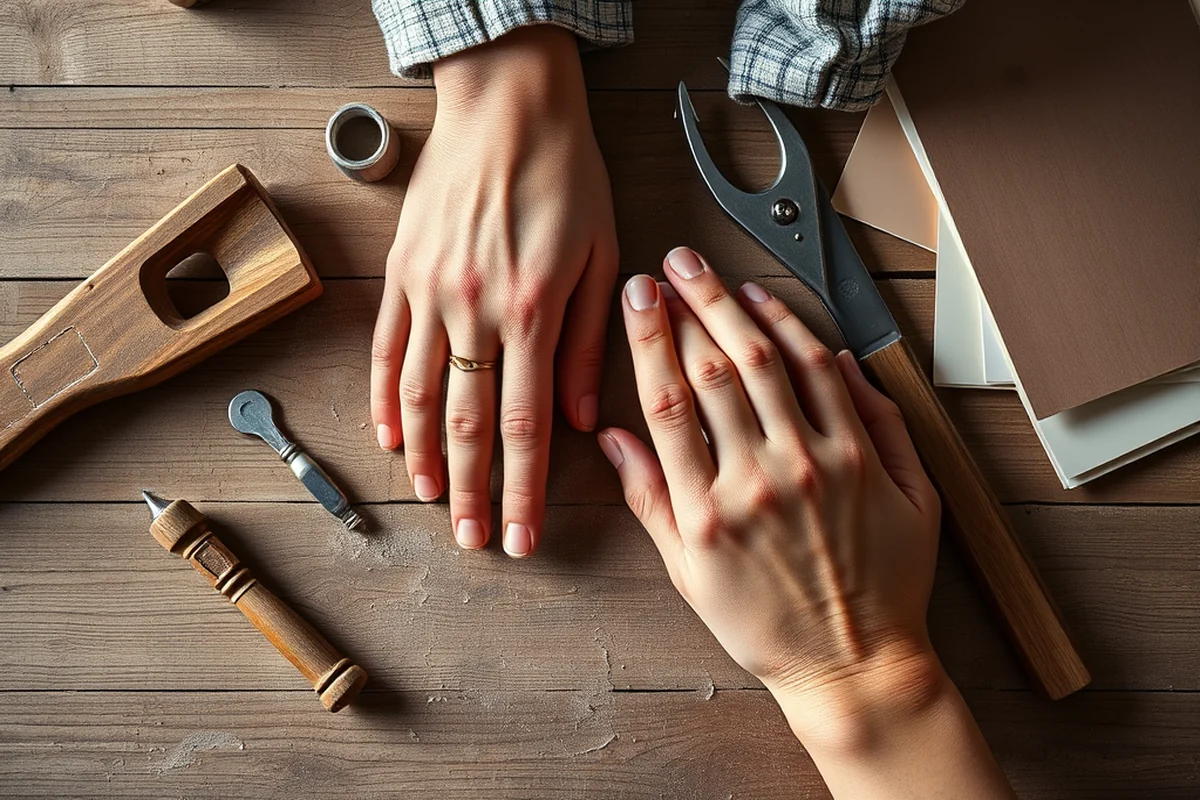
I always start by selecting a finish that matches the original piece. If I’m unsure, I look for clues like the grain pattern, color, and texture. I’ve found that using a stain that’s slightly darker than the original can make the piece look more aged, which is a popular style for antique furniture.
Once I’ve chosen the stain, I apply it with a brush, working in the direction of the grain. I let it dry for a few minutes, then wipe off any excess with a clean cloth. After the first coat dries, I apply a second coat for a more even finish.
After the stain is dry, I apply a clear topcoat like polyurethane or wax to protect the wood. This step is crucial — without it, the finish can be easily scratched or stained.
Reassemble and Polish
Once the finish is dry, I reassemble the furniture, making sure all the joints are secure and the pieces fit together properly. If I added any filler or wood glue during the repair process, I take extra care to ensure that the pieces are aligned and not uneven.
After reassembling, I use a fine-grit sandpaper to smooth out any rough edges or areas where the finish might be uneven. This step is especially important for pieces with intricate carvings or inlays, where even the smallest imperfection can be noticeable.
Finally, I polish the furniture with a soft cloth and a mild wood polish. This gives it a shiny, finished look and helps protect the wood from future damage. I always let the polish dry completely before using the furniture to ensure that it’s fully protected.
Consider Customization
After the furniture is restored, I often consider adding custom details like new handles, decorative inlays, or even a new color scheme. This is a great way to make the piece look more modern or tailored to your home’s décor.
I’ve found that adding a new backrest or cushion to a restored chair can completely change its look and comfort. It’s also a good idea to match the style of any new hardware, like drawer pulls or knobs, to the overall design of the room.
Customization doesn’t have to be expensive. Simple changes like painting the legs a different color or adding a new fabric to a chair can make a big difference in how the piece fits into your space.
A little customization can make all the difference in how the furniture fits into your home.
Maintain the Restored Piece
Once the furniture is fully restored, I make sure to maintain it regularly. This includes dusting it weekly and wiping it down with a damp cloth if needed. I avoid using harsh chemicals that can damage the finish or the wood itself.
I also recommend applying a fresh coat of polish every six months to keep the wood looking shiny and protected. This helps prevent scratches and keeps the finish looking new for longer.[1]
If the furniture is used frequently, like a dining table or a chair, I recommend inspecting it every few months for signs of wear and tear. Catching small issues early can prevent bigger repairs down the line.[2]
💰 Budget Build
Restore furniture with minimal cost by using existing materials and focusing on structural repairs.
⏰ Weekend Version
Complete a quick furniture restoration in one weekend with easy-to-find tools and materials.
✨ Upgraded Finish
Enhance your restoration with high-end finishes like lacquer or custom staining for a more polished look.
🛋️ Small-Space Adaptation
Tailor your restoration for small spaces by using space-saving designs or multifunctional furniture.
🏠 Rental-Safe Option
Choose a restoration method that’s safe for rental properties by avoiding permanent alterations or damage.
| The mistake | Why it happens | The fix |
|---|---|---|
| Skipping the cleaning step | Cleaning is essential to remove dirt and debris that can interfere with the finish and cause future damage. | Always clean the furniture thoroughly before beginning any restoration work. |
| Using the wrong type of wood glue | Using the wrong type of glue can result in weak joints that come apart over time. | Choose a high-quality wood glue that’s suitable for the type of wood you’re working with. |
| Applying too much stain | Applying too much stain can lead to an uneven finish and cause the wood to warp or crack. | Apply a thin, even coat of stain and let it dry completely before adding another coat. |
| Not reinforcing the structure properly | Failing to reinforce joints can result in a weak or unstable piece that breaks easily. | Always use wood glue, clamps, and additional screws or dowels to reinforce the structure. |
How To Restore Old Furniture
Common Questions
Can I restore furniture without any prior experience?
How long does a typical restoration project take?
What tools do I need for a furniture restoration project?
Is it possible to restore antique furniture without damaging it?
References
- School Building - ERIC (files.eric.ed.gov)
- Unpacking Repair: A Comparative Study of Socio-Technical Factors ... (link.springer.com)
Cite this guide
DIY Furniture for Elderly (2026). How To Restore Old Furniture. https://seniordrift.com/how-to-restore-old-furniture/
Feel free to cite or share this guide.