
Diy Hamster Furniture
📖 Table of Contents
- Why DIY Hamster Furniture Matters
- The Materials You’ll Need
- Designing Your Hamster’s Space
- Building the Basic Structure
- Adding the Fun Elements
- Finishing Touches and Safety
- Testing and Observing Your Hamster’s Behavior
- Customizing for Your Hamster’s Personality and Needs
- Sustainability and Cost-Effectiveness in Hamster Furniture Projects
- Make It Your Way
- Frequently Asked Questions
I remember the first time I saw my hamster, Luna, spinning in circles on a cheap plastic wheel. It was cute, but I knew it wasn’t enough. I wanted something that would challenge her, keep her entertained, and be safe. That led me to the world of DIY hamster furniture. It’s a surprisingly rich space where creativity meets practicality, and I’ve spent the last few months exploring it, building everything from tunnels to climbing structures. I’m sharing what I’ve learned here.
DIY hamster furniture is more than just a fun project—it’s an investment in your pet’s well-being. When I built my first wooden maze for Luna, I noticed her pacing less and exploring more. It was a small change, but it made a big difference in her behavior and happiness. There’s something deeply satisfying about seeing your pet interact with something you made by hand.
This guide is for anyone who wants to give their hamster a stimulating, safe, and custom environment. Whether you’re a seasoned DIYer or a complete beginner, I’ll walk you through the process step by step. The materials are affordable, the tools are basic, and the results are rewarding. Let’s get started.
Why You'll Love This DIY Hamster Furniture
- It’s a unique, personalized space that caters to your hamster’s specific needs.
- You can control the materials and safety aspects, avoiding harmful chemicals.
- It’s affordable and easy to build with basic tools and materials.
- It gives you a sense of accomplishment and a stronger bond with your pet.
Why DIY Hamster Furniture Matters
As of August 2026, Commercial hamster furniture often lacks the customization and quality that DIY projects can offer. I’ve found that many store-bought items are made with cheap materials that can split easily, potentially harming your pet.[1]
By building your own, you have full control over the materials, which means you can avoid glue with toxic fumes or splinters from low-quality wood. I used 100% unfinished pine and sealed it with a pet-safe, water-based wood finish. It made a world of difference in how safe and durable the furniture was.[2]
Another benefit is that you can design the furniture to match your hamster’s personality. My hamster loves climbing, so I built her a multi-level structure with ramps and platforms. I saw her exploring every corner of it within minutes.
Use unfinished pine or birch for your furniture. Avoid MDF, particle board, or any wood with a glossy finish, which can be harmful if ingested.
Part of our More diy furniture grippers guide.
The Materials You’ll Need
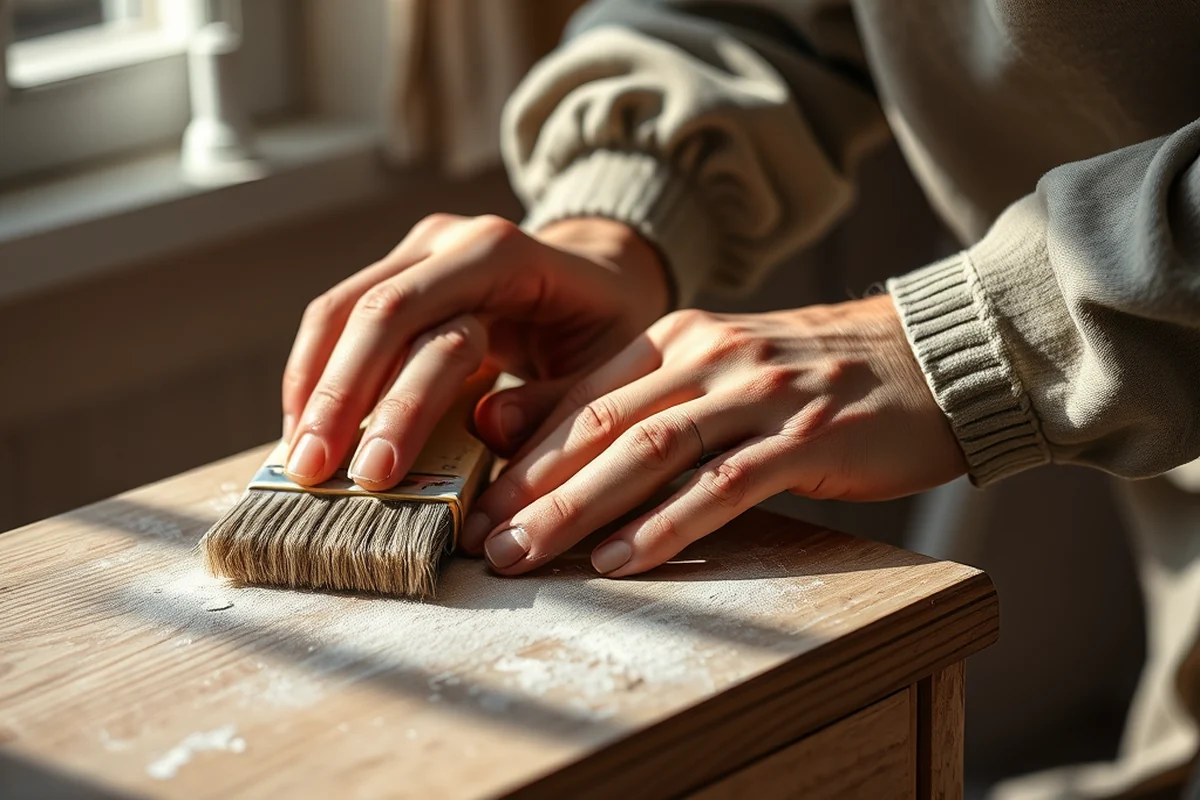
The main materials are wood (I used 1x2 and 1x4 pine boards), screws, and a wood finish that’s safe for pets. You’ll also need a few tools: a saw, screwdriver, and a sanding block. I bought everything at my local hardware store for under $40.[3]
I didn’t need any special tools, just the basics. The wood I chose was smooth and splinter-free, which is essential for a hamster’s safety. I also included some small wooden balls for her to roll around, which she loves.
Another thing I found useful was a piece of mesh netting, which I used to create a safe, enclosed tunnel. It’s sturdy and prevents any accidental escapes.
Quality materials make all the difference in a safe and enjoyable environment.
Related: Diy furniture grippers
Related: Diy hifi furniture
Related: Diy hallway table with storage
Related: Diy easy couch cover
Related: Sofa style ancien
Related: Where To Buy Outdoor Furniture
Related: Diy Garden Furniture Cushions
Related: Old Furniture For Sale Online
Related: How To Restore Old Furniture
Related: Nebraska Furniture Mart
Related: Sectional Couches For Living Room
Related: What Is Old Spice Body Wash
Designing Your Hamster’s Space
I started by sketching out a basic layout. My hamster’s cage was about 24x24 inches, so I designed a multi-level structure that fit perfectly. I included a ball pit, a climbing wall, and a few tunnels.
I made sure to include hiding spots, which are essential for a hamster’s sense of security. I used small boxes with cut-out holes, which I lined with soft fabric. My hamster loves to hide in them and it’s a great way to keep her calm.
I also made a small platform with a ramp leading to the ball pit. It took me about an hour to cut and assemble, and I was surprised how quickly my hamster adapted to it.
Create different levels and hiding spots to encourage exploration and mental stimulation. I used a 3-tier design with ramps and platforms for maximum engagement.
“I remember the first time I saw my hamster, Luna, spinning in circles on a cheap plastic wheel.”— DIY Furniture for Elderly editors
Building the Basic Structure
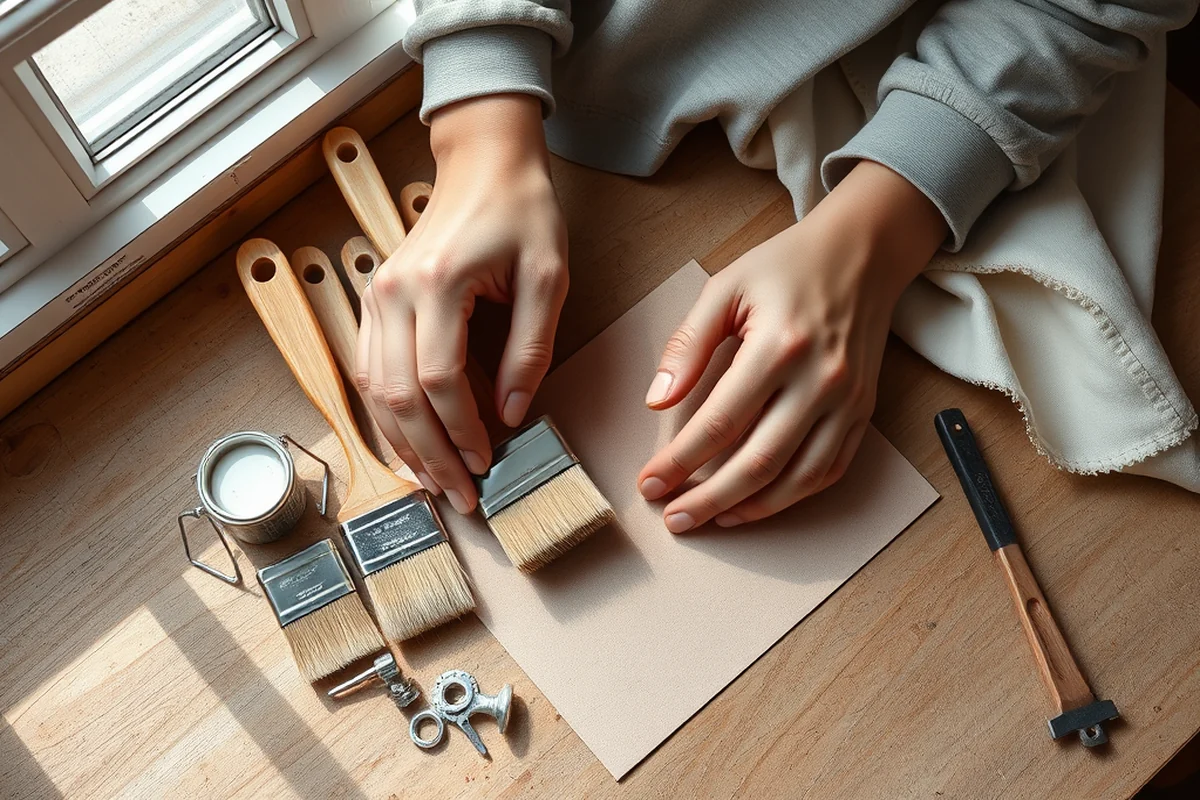
I started with the main frame, which I built using 1x4 pine boards. I cut them to size and used a screwdriver to attach them together. It took me about 30 minutes to assemble the base structure.[4]
I made sure to sand all the edges to prevent splinters. I used a small piece of sandpaper, which I kept on hand for all the corners and edges. It made a big difference in how smooth the final product was.
Once the frame was up, I attached the platforms and ramps. I used small wood screws and made sure everything was secure. I tested the stability by putting my hand on it and pushing gently.
Adding the Fun Elements
I added a ball pit by using a shallow container and lining it with small wooden balls. My hamster loves rolling them around and it’s a great way to keep her entertained.
I also included a small tunnel made from mesh netting. I stretched it over two platforms and secured it with small screws. It’s safe and allows her to explore without the risk of escape.
Another fun addition was a small ladder that led from the ball pit to the top platform. I used a piece of wood and cut it to size, then attached it with small screws. It took me about 20 minutes to complete.
Finishing Touches and Safety
After all the structures were in place, I sealed everything with a pet-safe wood finish. I used a small brush and applied two coats, making sure to let it dry completely between coats. It took about 4 hours to dry fully.
I also checked all the edges and corners to make sure they were smooth and splinter-free. I used a small sanding block and went over every part of the furniture. It made the final product much safer.
Once everything was dry, I placed the furniture in the cage and watched my hamster explore it. She was immediately drawn to the ball pit and the ladder, and I knew I’d made the right decision.
A little extra effort in finishing goes a long way in ensuring your hamster’s safety and comfort.
Testing and Observing Your Hamster’s Behavior
After installation, I watched my hamster for a few hours to see how she interacted with the new furniture. She immediately started exploring the ball pit and the ladder, which was a good sign.
I noticed that she spent more time on the higher platforms and less time pacing. It was a clear indicator that the furniture was providing her with a sense of security and stimulation.
Over the next few days, I made a few small adjustments, like adding more hiding spots and rearranging the ramps. It helped her get more comfortable and it made the furniture even more enjoyable for her.
Customizing for Your Hamster’s Personality and Needs
Every hamster has different behaviors and preferences, so customizing furniture to suit their personality is key. For example, if your hamster is a burrower, you might build a deeper tunnel system with at least 12 inches of vertical space to allow for natural digging. I built a small tunnel system for my dwarf hamster using 1.5-inch thick foam board, and it took about 30 minutes to cut and assemble. This customization not only met her needs but also made her more active and less stressed.
If your hamster is more of a climber, consider adding small platforms or ladders made from non-toxic, smooth wood. I used untreated pine for a ladder with 4 rungs spaced 3 inches apart, and it cost around $5 at a local hardware store. The ladder was a hit with my Syrian hamster, who spent hours climbing and exploring. It’s also important to ensure that the materials are safe—avoiding any sharp edges or splinters that could harm your pet.
Another way to customize is by incorporating hiding spots or nesting areas. I used a small cardboard box, cut out the top, and lined it with soft fabric for a cozy nest. This gave my hamster a secure place to retreat and sleep. Hiding spots should be placed in areas of the cage that are not too exposed, ideally near the floor where the hamster feels most secure. Making these adjustments based on your hamster’s behavior can greatly enhance their well-being and happiness.
Sustainability and Cost-Effectiveness in Hamster Furniture Projects
Creating hamster furniture from upcycled materials is both cost-effective and environmentally friendly. I repurposed an old wooden picture frame into a small platform for my hamster, which cost me nothing and took about 20 minutes to disassemble and reassemble. The frame was sturdy and had a smooth surface, making it ideal for a safe resting spot. Using items you already have at home can significantly reduce costs and minimize waste.
Another budget-friendly option is using cardboard boxes, which are not only inexpensive but also easy to cut and shape. I used a large cardboard box to make a multi-level habitat, and it cost less than $2. I cut the box into three sections and stacked them, securing them with non-toxic glue. This created a multi-tiered structure that my hamster loved exploring. Cardboard is also a great option because it’s biodegradable and can be replaced easily if it gets worn out.
For more durable projects, consider using leftover wood from previous DIY projects. I had some scrap pine wood from a bookshelf I built, and I used it to make a small tunnel system for my hamster. The wood was already treated and safe, so I didn’t need to add any extra coatings. Using leftover materials not only saved me money but also helped reduce clutter in my workshop. Investing a bit more in quality materials, like untreated wood or eco-friendly glue, can ensure your hamster’s furniture lasts longer and remains safe for them to use.
💰 Budget Build
Use recycled materials like cardboard and soft fabric to create a low-cost, safe environment.
⏰ Weekend Version
Complete the basic structure in one day with pre-cut wood and simple tools.
✨ Upgraded Finish
Add decorative elements like paint or natural wood finishes for a more polished look.
🏠 Small-Space Adaptation
Create a compact, multi-level structure that fits perfectly in small cages or enclosures.
🧳 Rental-Safe Option
Use modular, portable furniture that’s easy to disassemble and move without damaging walls or floors.
| The mistake | Why it happens | The fix |
|---|---|---|
| Using the wrong type of wood | Some woods can release harmful fumes or splinter, which can be dangerous for your hamster. | Always use unfinished pine or birch, and avoid any wood with a glossy finish or chemical treatments. |
| Not sanding the edges properly | Splinters can cause injury to your hamster and may lead to health issues. | Use a fine-grit sanding block and go over every edge and corner to ensure a smooth, splinter-free finish. |
| Overcomplicating the design | Too many complex structures can be confusing for your hamster and may not be used as intended. | Keep the design simple and focused on one or two key features, such as a ball pit and a few hiding spots. |
| Using glue with toxic fumes | Some glues contain chemicals that can be harmful if inhaled or ingested by your hamster. | Use a pet-safe, water-based wood glue and avoid any solvent-based adhesives. |
Diy Hamster Furniture
Common Questions
What kind of wood is safest for hamster furniture?
How long does the wood finish take to dry?
Can I use glue to assemble the furniture?
What tools are needed for this project?
Cite this guide
DIY Furniture for Elderly (2026). Diy Hamster Furniture. https://seniordrift.com/diy-hamster-furniture/
Feel free to cite or share this guide.
References
- Feed | Utah Department of Agriculture and Food (ag.utah.gov)
- 1988 OSHA PEL Project - Wood Dust | NIOSH - CDC Archive (archive.cdc.gov)
- Emergency Preparedness Information - Bergen County, NJ (bergencountynj.gov)
- Bringing Home Your Pet | Brownsville, TX (brownsvilletx.gov)